This user guide will explain the various features of the tool and how to use them.
Logging In
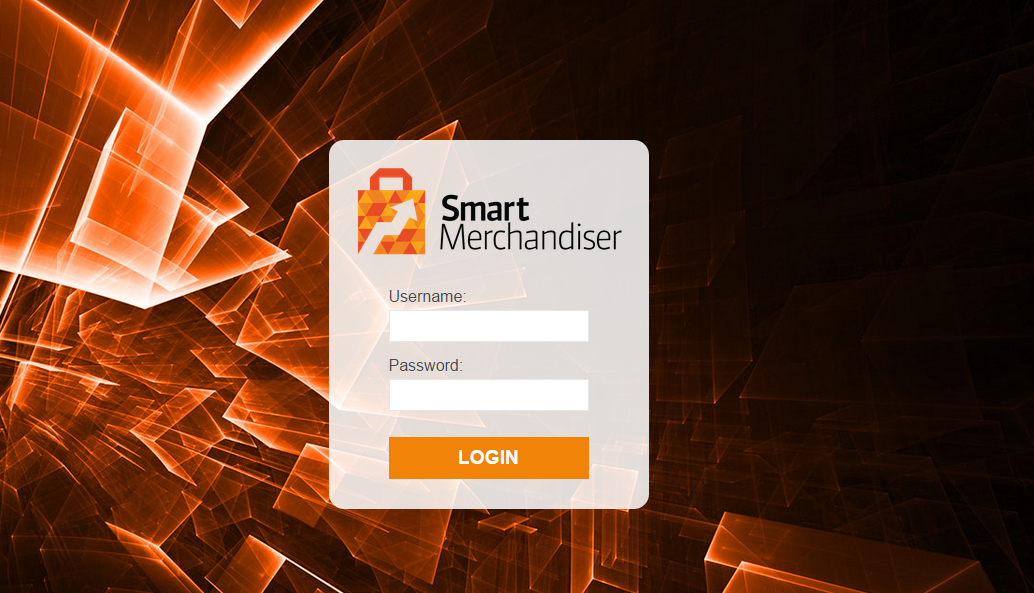
Enter your User name and Password to log in to Smart Merchandiser. If you do not have a user name or password please contact your manager to request one via your Smart Merchandiser Rep.
Logo
The store logo shows which store you are working on.
![]()
The store sector lets you choose which store you’d like to merchandiser. You must choose a store to merchandise before you can proceed to selecting a catalog or product.
![]()
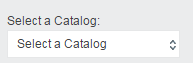
Catalog Selector
The catalog selector lets you choose your sales catalog. Note that once you select a new catalog, the whole page will be refreshed and pending changes will be lost if they are not saved.
Category Selector
The category selector is a tree that shows the current structure of the sales catalog. You can click on a specific category to expand and display the subcategories or close it and hide them. If the selected category is a lowest level category, the product area will be reloaded with its products. When no category is initially selected, the first category with products will be selected automatically.

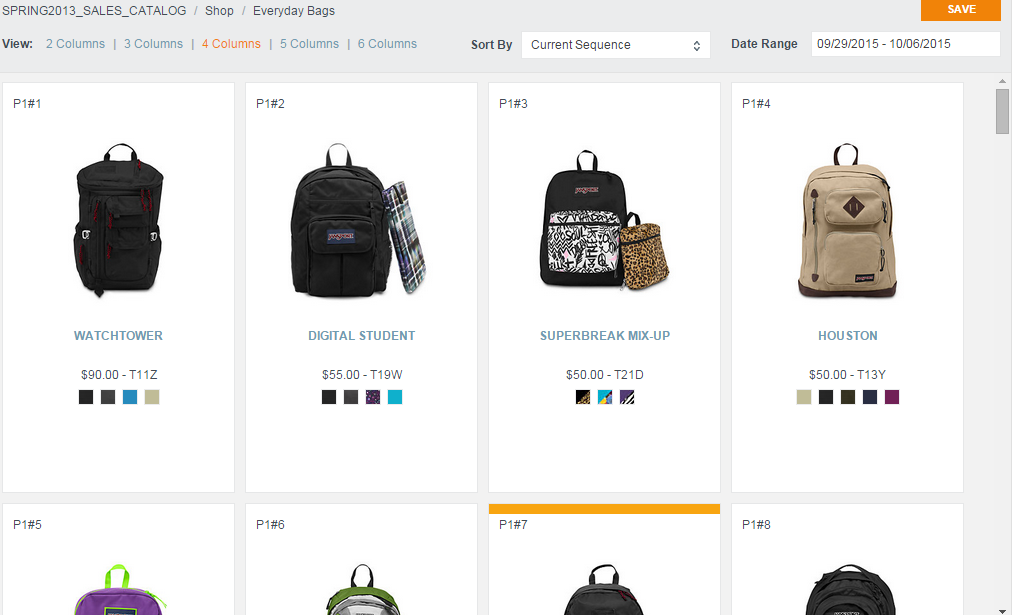
Product Area
The product area shows a list of products in the selected category. The ordering of the products is based on the sequence number of the product in the category. This ordering should represent the ordering of the products in the store category pages and search result pages.
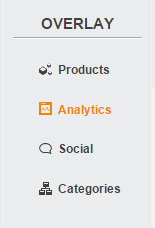
Overlay Selector
The overlay selector lets you select what type of information you’d like to display.
Currently 3 layers of information is available:
- Product Information
- Sales and Inventory Analytics
- Social Analytics
Adding Products
Product Add Area
There are two ways to add a product to the current category:
Add from List
The add box let you add multiple products to the current category by copy and pasting part-numbers from Excel or other document. The part-numbers must be separated by any whitespace or new line.
Once the part-numbers are copied, click the “Add Products” button to add the products to the category you are currently viewing. A message similar to “2 products added” should appear when the products are added.
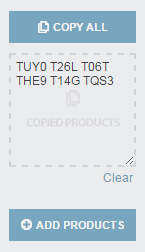
Add from Master Catalog
The master catalog button will open up the master catalog interface. From there you can publish / add products to the category you are currently merchandising.

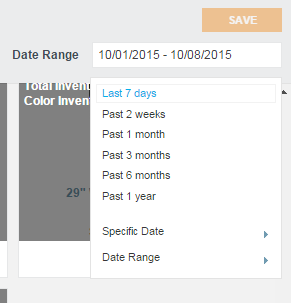
Analytics Range Selector
The range selector lets you select the period of the analytics data you want to look at. Selecting a new date range will cause the product area to be reloaded with new stats.
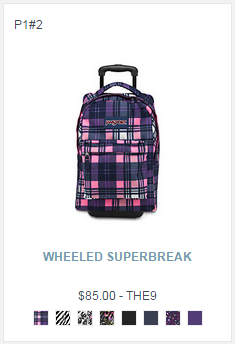
Product Box
The product box display information specific to a product within the category.
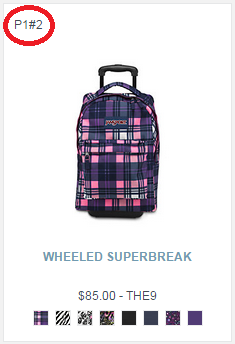
Location Indicator
The location indicator specify where the product will be shown when the whole category is displayed to the user. “P1#2” means page 1 number 2.
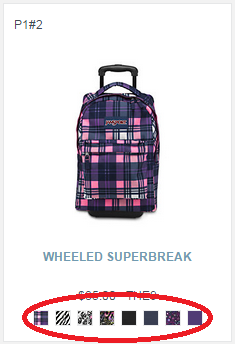
Product Image & Color Swatches
The product image thumbnail is displayed for the primary color swatch.
The color swatches area lists all the colors available for this product. Clicking on the swatch will refresh the product image to the corresponding color and change the leading color.
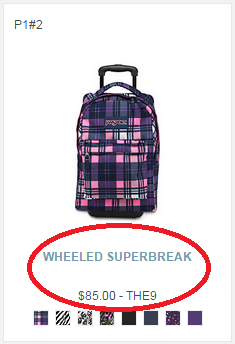
Product Information
- Product Name – The display name of the product. Clicking on the name will bring you to the Product Detail Page.
- Price – The price of the product in the current catalog.
- Part Number (SKU) – The unique identifier for the product.
Inventory Alerts
The border color of the swatch and top border of the product box act as inventory alerts. Alerts surround the swatches are applicable to that color or pattern. Alerts at the top of the product box apply to the inventory of the product, regardless of color or pattern.
- Red – No Inventory
- Yellow – Low Inventory
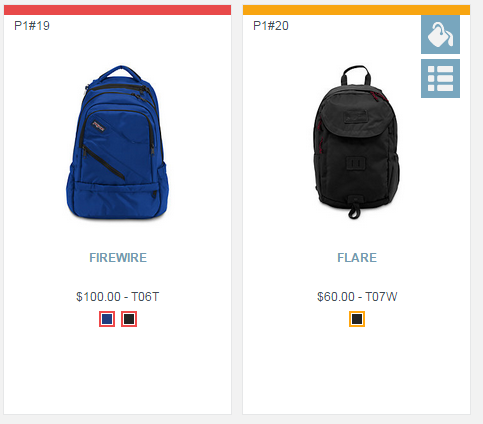
Menu
Color Management UI
Clicking on the color management icon will open the color management ui. Please see the Color Management section.
Items Management UI (not shown)
Clicking on the items management icon will open a new window and display the items management ui. Please see the Items Management section.
Remove Product (from category)
When you move the mouse pointer over a product box, a “trash” icon will appears. Clicking on the icon will prompt you to remove the product from the current category. Click “Ok” to remove the product.
Analytics Box
The Analytics box shows related analytics of the product, within the specified time period.
Coremetrics
Available data are normal metrics from Coremetrics analytics report:
- Sales
- Items Sold
- Item Abandoned
- Abandoned Rate
- Abandoned Sales
- Product Views
- Conversion Rate
Inventory
Inventory information is also made available from the e-commerce site. Note that the inventory count is not real-time if the staging server is used for catalog management.
Price-Margin Box
The price/margin layer display price related information of a product.
Information displayed:
- MSRP
- Manufacturer’s suggested retail price
- MAP
- Minimum Advertised Price
- MAP will be highlighted if higher than Office Price
- Offer Price
- Actual purchase price on the website
- Offer Price will be highlighted if lower than MAP
- Std Cost
- Cost of the product
- Margin
- Base on Offer Price and Std Cost
- Margin will be highlighted if below a threshold (specified in configuration file)
Social Box
The social box show related analytics from social networks and the review service.
The Facebook like counter shows how many people “likes” and shared the product on their Facebook page.
The twitter counter shows how many recent tweets are related to the product.
Click on the “Tweet” icon will open a new tab that shows the relevant tweets.
Note: the product name is used to search for related tweets. If the product name consist of very common terms (ie. Blue Shirt), the twitter counter might not accurate.
Bazaar Voice
The reviews stars shows the user rating of the product. “5 (231)” means the average rating of the product is 5, and 231 reviews are written.
Click on the review counter will open a new tab that shows the product reviews.
Color Management
- Product Information
The current product information and the swatches are shown as a reference.
- Color Swatches
Drag and drop the color swatches around to rearrange the color ways. When you finished arranging the colors, click on the “Save” button to save the ordering.
- Color Information
The swatch display the color visually as well as the color name and color code.
- Publish Checkbox
The checkbox indicator whether a specific color way is being published. If a color is not published, perhaps due to low inventory, it will not be shown on the e-commerce website.
- Save Button
Click on save to save the color wat settings. Remember to save before closing the hopup window!
Items Management
The Items Management UI list all the items under a particular product and let you manage their attributes.
- Product Title
Shows the partnumber and the name of the product.
- Search Filter
The search box allows user to filter the items displayed.
For example, if we entered “Black” in the search box, the items with a “Black” attribute will be shown.
- Items Display
This area list all the items belong to the product. Only the predefined attributes are shown.
- Attributes Header (Sorting)
Clicking on the attribute header will sort the items base on the corresponding attribute.
The icon on the right of the attribute name denotes the sorting direction:
- Two arrows
- Attributes not sorted
- Up arrow
- Ascending order (ie. 4, 5, 6…)
- Down arrow
- Decending order (ie. 18, 16, 15…)
- Page Items Count
The page items count selector let you specify how many items to display per page.
- Published Checkbox
The checkbox shows the publish status of a particular item. Check/uncheck the box to change the publish status.
- Save Button
The save button commit the changes that you made on the screen.
A message similar to “Items Updated” will be displayed on the upper left of the screen when the operation is successful.
- Pagination
The table footer shows how many total items are available.
When there are too many items to be displayed on a page, the pagination buttons will be enabled and you can navigate to rest of the items by clicking on the page numbers.
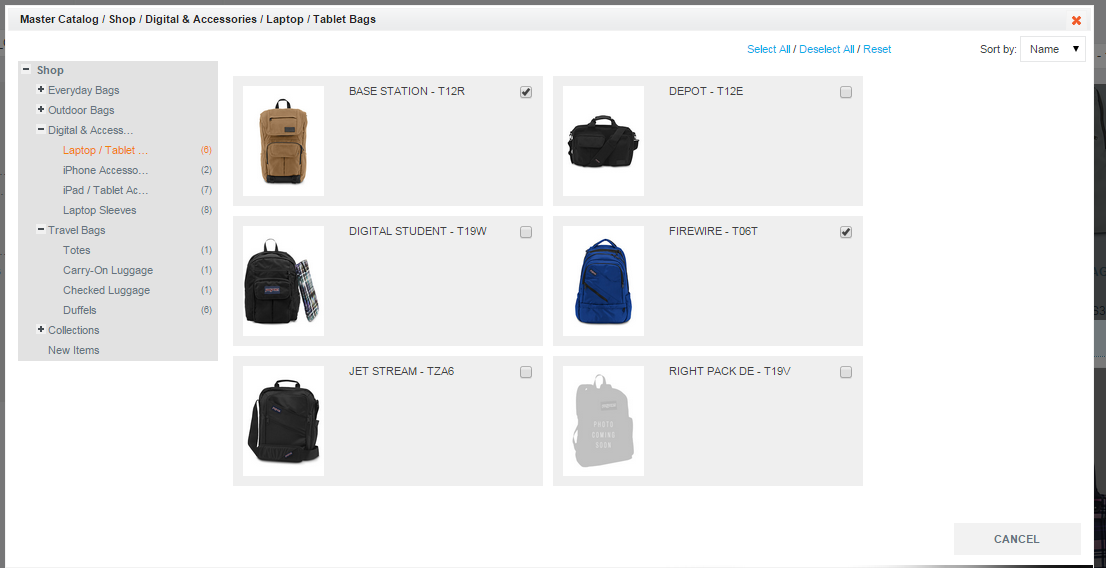
Master Catalog
- Category Selector
The category selector shows the category under the master catalog. Click on the name of the category to expand. If a leaf category is selected, the products will be loaded on the right panel.
- Sort Selector
Select the sort sequence of the products.
We currently supports these sorting methods:
- By Product Name
- By Part Number
- Product Preview
The thumbnail, name, and part number of the product is shown.
- Status Checkbox
If the product is already added to the current category (in the sales catalog), the checkbox will be checked.
Simply check/uncheck the products to add/remove the product to the current category. Note that the product is immediately added/removed when the checkbox is changed.
Use Cases
Rearranging Products
- Select target store and sales catalog with Catalog Selector
- Select target category with Category Selector
- Turn on analytics information if needed with the analytics selector
- Drag and drop product boxes in the product area to rearrange the products
- Click “Save Order” button
- Confirm success with the response message
Adding Products (from list of partnumbers)
- Select target store and sales catalog with Catalog Selector
- Select target category with Category Selector
- Copy and paste part numbers into the Add Box
- Click the “From List” button
- Confirm success with the response message
Adding Products (from master catalog)
- Click on “From M. Catalog”
- Select master catalog category
- Find the product to be added in the panel
- Check the checkbox (product is added immediately when check box is checked)
Removing Product
- Select target store and sales catalog with Catalog Selector
- Select target category with Category Selector
- Move the mouse pointer to the target product
- Click the “Trash” button and click “OK”
- Confirm success with the response message
Managing Color
- Mouse over the target product
- Click the color management icon on the upper right
- Drag and drop around the color swatches to rearrange them
- Click on the check box below each swatch to publish/un-publish the color
- Click save
- Confirm success with the response message
Managing Items
- Mouse over the target product
- Click the item management icon (or click on the color name in the Color Management UI)
- Find the desired items by
- changing the displayed items count (E)
- using the search filter (B)
- sorting attributes (D)
- navigate to different pages (E)
- Note: If you open the Item Management UI by clicking on the color name in the Color Management UI, only the items with that color will be shown here
- In the items management UI, publish/un-publish the items with the corresponding checkboxes (F)
- Click save at the bottom of the column (G)
- Confirm success with the message on the upper left
Logoff Link
When you finish your work on the Visual Merchandiser, click “Logoff” to end the session.